
Bird Photography for Beginners: Your First Real Setup
You already know the birds. Here's the honest gear floor, the four settings that matter, and the fieldcraft that beats expensive glass.
The short answer
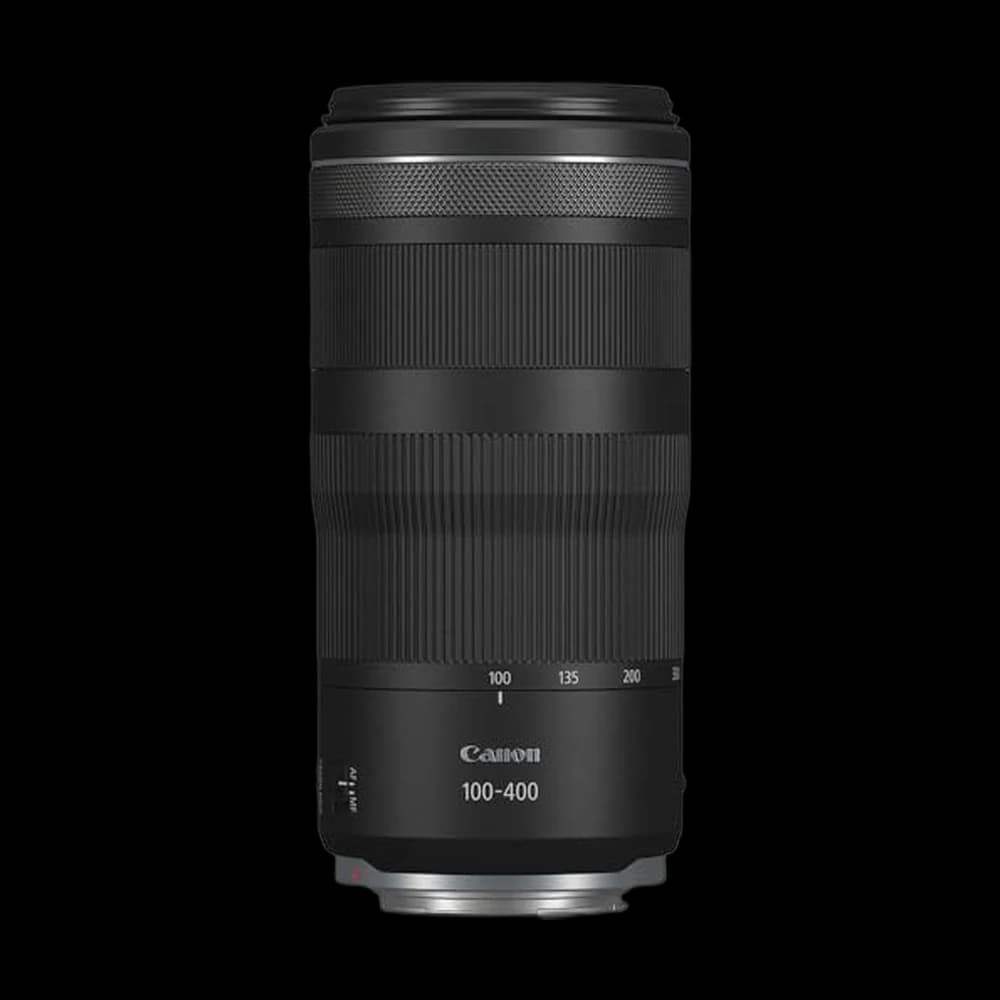
- Canon EOS R shooters wanting a light 1.8-lb 100-400mm telephoto for travel and handheld birding.
- You shoot dawn, dusk, or deep shade; the slow f/5.6-8 aperture struggles in low light.
Key takeaways
- 400mm equivalent is the practical floor. Below that, birds are specks you crop into mush — reach is the one spec you can't fieldcraft your way around.
- Two honest entry paths: a superzoom bridge camera (one box, huge reach, small sensor) or a used interchangeable-lens body plus a third-party telephoto zoom (better files, more weight, more money).
- Settings, not gear, fix most bad bird photos: ~1/1000s minimum for active passerines, aperture wide open, Auto ISO floating, back-button focus with animal-eye AF.
- Light and proximity beat glass. A common bird 20 feet away in golden light out-photographs a rarity at 200 feet with a $12,000 lens.
- Ethics are the skill. No baiting, no nest disturbance, no playback to pull a bird into frame — Audubon's guide is the standard, and it's not optional here.
Pick by your situation
| If your situation is… | Pick | Why |
|---|---|---|
| You want maximum reach for the least money and hate gear decisions | A superzoom bridge camera | One box, enormous equivalent focal length, no lens buying — at the cost of a small sensor that needs good light |
| You want files that survive cropping and printing | A used interchangeable-lens body plus a third-party telephoto zoom | Bodies depreciate fast and lenses don't, so used-body money buys you far more glass |
| You mostly shoot handheld and hike to your spots | A lighter 100-400mm class zoom over a 150-600mm | The lens you actually carry and can hold steady beats the heavier one that stays home |
| Small passerines are your main subject | Reach past 500mm equivalent, or a crop-sensor body | Warblers and kinglets are tiny and rarely let you close enough at 400mm to fill the frame |
| You're not sure this lane is for you yet | Whatever camera you already own, plus a feeder perch setup | Fieldcraft, light, and settings are transferable skills — spend on gear once you know what you're limited by |
A shortcut by situation — start from the row that sounds like you.
Bird Photography Starter Gear: our picks
| Pick | Best for | Rating | Price | |
|---|---|---|---|---|
| TopCanon RF100-400mm F5.6-8 is USM Telephoto Lens, Black, Compatible… | The cheap, light Canon mirrorless reach. | ★ 4.6 Amazon | $749.00 | Buy on Amazon |
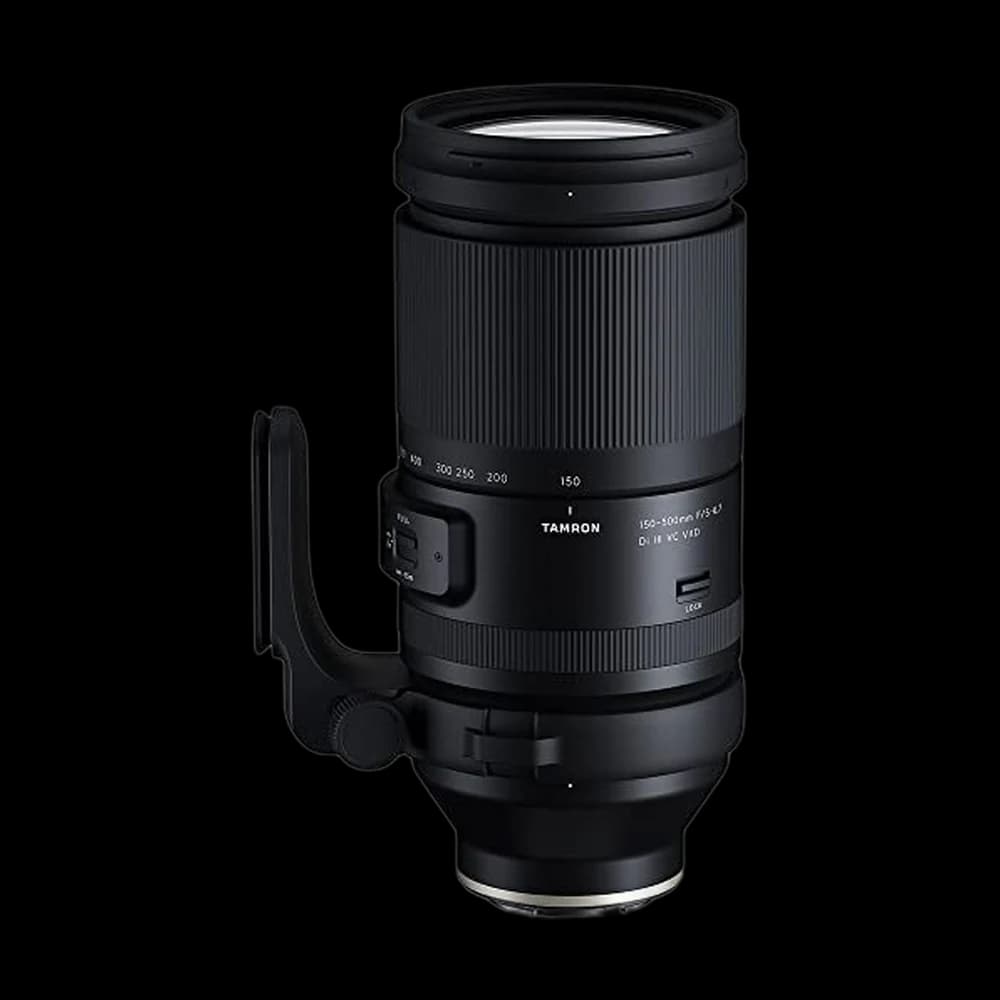 Tamron 150-500mm f/5-6.7 Di III VC VXD Lens for Full Frame Sony… Tamron 150-500mm f/5-6.7 Di III VC VXD Lens for Full Frame Sony… | Lighter mirrorless reach with fast focus. | ★ 4.5 Amazon | $1,399.00 | Buy on Amazon |
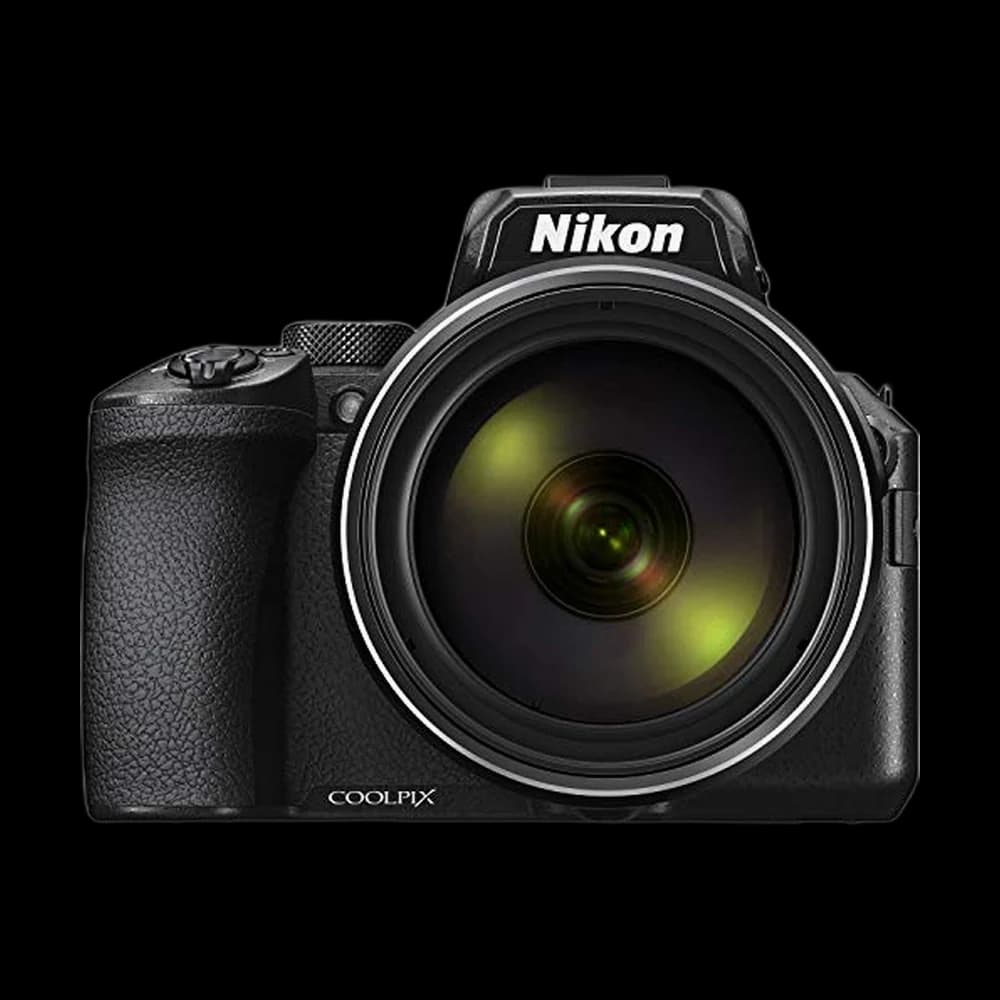 NIkon COOLPIX P950 Superzoom Digital Camera NIkon COOLPIX P950 Superzoom Digital Camera | 2000mm-equivalent superzoom in one body. | ★ 4.4 Amazon | $846.95 | Buy on Amazon |
The single biggest jump in your bird photos comes from getting to roughly 400mm full-frame equivalent, then learning to work close in good light. Everything else is refinement.
You already know the birds — that's the hard part, and it's done. What's new here is photographic, and it's a much smaller body of knowledge than the gear forums suggest.
Why reach is the one spec you can't work around
Your binoculars have taught you exactly how far away a warbler stays. A camera has to bridge that same gap with glass.
- Under 300mm equivalent, most songbirds land as a handful of pixels that crop to mush.
- 400mm equivalent is the widely cited practical minimum, and where most published bird images sit or above.
- 600mm equivalent gives breathing room for small passerines — but it's heavier, slower to aim, harder to hold steady.
Watch the "equivalent" word. A 300mm lens on an APS-C body is ~450mm equivalent; on Micro Four Thirds, ~600mm. Crop sensors are the cheapest reach you can buy.
The honest budget ladder
Two entry points make sense, and they trade image quality against cost.
| Path | Reach | Trade-off | Who it fits |
|---|---|---|---|
| Superzoom bridge camera | 2000mm+ equivalent | Tiny sensor — noisy, weak in low light | One box, no lens math, bright conditions |
| Used body + third-party telephoto zoom | 400–600mm | Heavier, two purchases, steeper curve | Files that hold up to cropping and printing |
| New body + first-party telephoto | 400–500mm | Costs the most by a wide margin | You know this is a long-term lane |
The used-body route is the value pick: bodies depreciate hard, lenses don't. Put the money in the glass.
The Nikon Coolpix P950 is the bridge-camera archetype. On interchangeable-lens bodies, the Tamron 150-500mm is the third-party zoom birders report using most, while the Canon RF 100-400mm is the lightest way onto a modern mirrorless mount.
The four settings that actually matter
Bird photography is a shutter-speed problem wearing an exposure-triangle costume.
- Shutter speed first. Roughly 1/1000s minimum for small active passerines — chickadees and kinglets never stop moving. Birds in flight want 1/2000s or faster.
- Aperture wide open. On a variable-aperture zoom that's f/5.6–f/6.3 at the long end. You need the light; the background separation is a bonus.
- Let Auto ISO float, with a cap you can live with. A noisy sharp bird beats a clean blurry one.
- Shoot RAW. White herons blow out, dark warblers hide in shadow — RAW rescues both.
| Subject | Starting shutter speed |
|---|---|
| Perched, still bird | 1/500s |
| Small active passerine | 1/1000s |
| Bird taking off / landing | 1/2000s |
| Fast flight (swifts, swallows, raptors) | 1/2500s+ |
Back-button focus is the setting to change first
Separate focusing from the shutter button. Assign autofocus to a rear button (usually AF-ON) and set continuous AF: your thumb tracks the bird while your finger only fires the frame. It's the most useful custom setting in wildlife photography.
Then turn on animal or bird-eye subject detection if your body has it. Modern detection AF locks the eye through branches that would have defeated a photographer a decade ago — it's the feature that changed the entry-level game.
Light and proximity beat expensive glass
This is the misconception that costs beginners the most money: a common bird close in beautiful light will out-photograph a rare bird far away shot on legendary glass.
Shoot the first and last two hours of daylight, because low, warm light does more than two extra stops of aperture. Put the sun over your shoulder so the bird's eye catches light. And get to eye level — kneel, sit, lie down. Shooting down flattens a bird against the ground; eye-level shots feel intimate and blur the background beautifully.
Fieldcraft: let the birds come to you
You already know how to find birds. The photographic version is the opposite instinct — stop walking.
What actually gets you closer:
- Pick a spot and wait. Sitting still at a hedgerow or water source gets you closer approaches in twenty minutes than three hours of stalking.
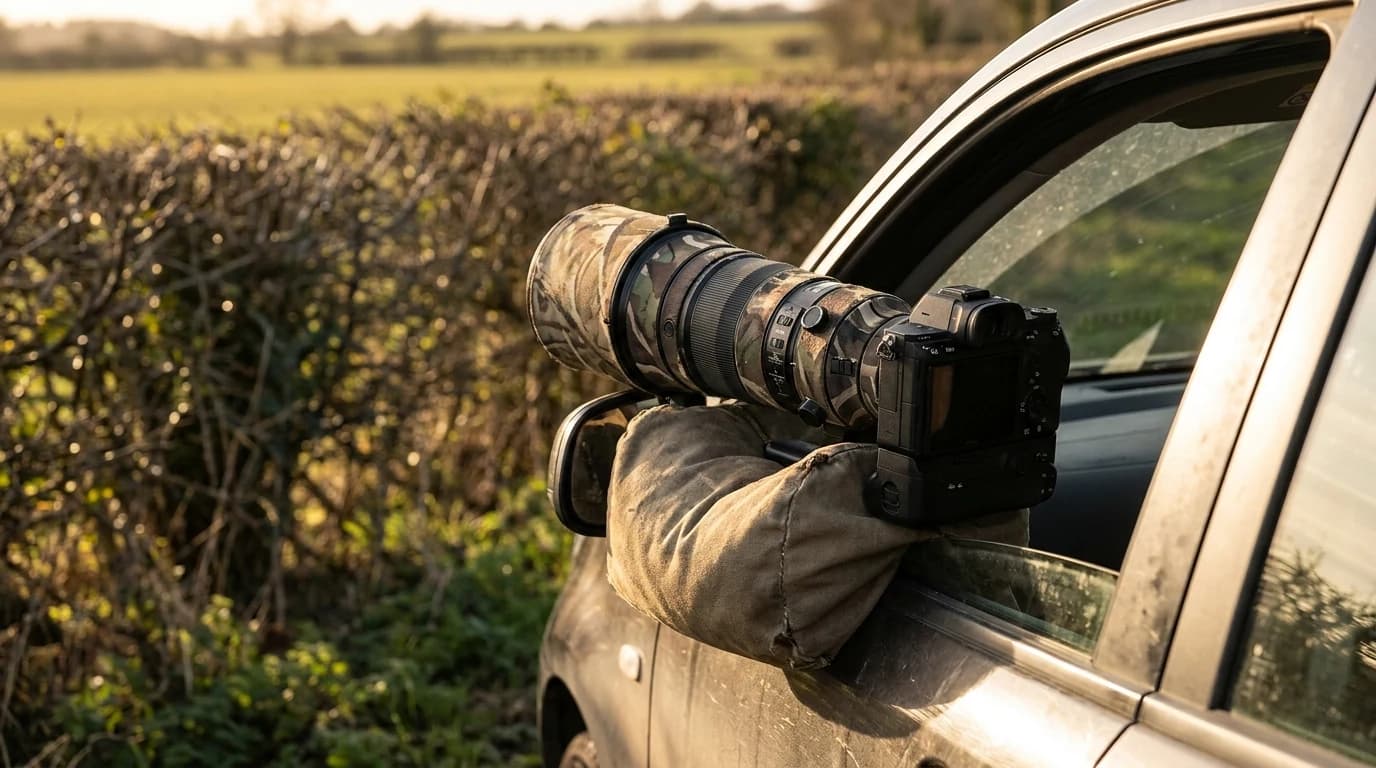
- Use your car as a blind. Birds tolerate vehicles far better than upright humans; a rolled-down window and a beanbag on the door frame is a real setup.
- Shoot your own feeder station. A natural-looking perch near the feeder is the fastest way to learn your camera on cooperative, unstressed subjects.
What pushes birds back out of range:
- Walking the trail hoping to close the gap on foot.
- Bright clothing, and sudden direct approaches that read as predator behavior.
Crop to composition, not to rescue
The discipline: if the bird is 300 pixels wide, no crop saves it — that's a fieldcraft lesson, not an editing one. Leave room in the direction the bird is facing, and keep the original RAW, because your taste and your editing tools will both change.
Ethics: the part that isn't optional
Bird photography has a real ethical floor, and at this level you're expected to hold it. The welfare of the bird outranks the photograph, always.
- No baiting. Audubon is explicit that luring predatory birds — hawks, owls, eagles, ospreys — with live or dead animals, meat, or decoys is off-limits. It alters hunting behavior and habituates birds to roadsides.
- No nest disturbance. Never keep a parent off the nest, and never move or cut vegetation for a clearer line — camouflage is the nest's primary defense. Audubon advises real distance around nests, and a 25-yard minimum for beach-nesting birds.
- No playback to pull a bird into frame. The ABA Code of Birding Ethics asks birders to limit recordings generally and avoid them for rare, threatened, or heavily birded species. A bird drawn off its nest by playback leaves eggs exposed.
- If the bird changes its behavior, you're too close. Flushing burns energy it needs — critically so in winter and breeding season.
- Caption honestly. Note if a bird was captive or the scene was set up.
Every one of these constraints pushes you toward the technique that produces better photographs anyway. Patience, distance, and light are the ethical answer and the photographic one at once.
Frequently asked
What is the cheapest way to start bird photography?+
A superzoom bridge camera gets you enormous reach in a single purchase with no lens decisions. The trade-off is a small sensor that struggles in low light and doesn't hold up to heavy cropping. If you can stretch further, a used interchangeable-lens body paired with a third-party telephoto zoom produces noticeably better files for similar or slightly higher total cost.
Is 400mm enough for bird photography?+
Yes — 400mm full-frame equivalent is widely treated as the practical minimum, and plenty of published bird work is shot at or near it. On an APS-C body, a 300mm lens already gets you there. You'll simply need to work closer, which is a fieldcraft skill worth building anyway.
What shutter speed should I use for birds?+
Start at about 1/1000s for small active songbirds, which rarely hold still long enough for anything slower. Perched, calm birds tolerate 1/500s. Birds in flight generally want 1/2000s or faster, and fast fliers like swallows and swifts may need 1/2500s and up.
Is it ever okay to use call playback to get a photo?+
Not to stage a shot. The ABA Code of Birding Ethics asks birders to limit recordings in general, and to avoid them entirely for rare, threatened, or heavily birded species. Audubon notes that a bird leaving its nest to investigate playback exposes eggs and chicks to predators and weather. Photography is a convenience, not a reason.
Should I shoot RAW or JPEG for birds?+
RAW. Bird exposure is unusually difficult — white plumage clips easily and dark birds sit in shadow — and RAW gives you the latitude to recover both. It also preserves detail through the cropping that bird photography inevitably requires.
Sources & further reading
We research from primary and authoritative sources. Where our guidance rests on a fact, here's where it comes from.
- Audubon's Guide to Ethical Bird Photography and Videography — Primary ethical standard cited: no baiting of predatory birds (live/dead animals, meat, decoys), no playback that draws birds off nests, respectful distance around nests, and a 25-yard minimum from beach-nesting birds.
- The Ethical Bird Photographer — Audubon — Source for the flushing rule — never make a bird fly, especially during breeding season or winter when energy reserves matter — and for prioritizing bird welfare and habitat over the image.
- ABA Code of Birding Ethics — American Birding Association — Source for limiting recordings and audio attraction, especially in heavily birded areas and for rare or threatened species, and for exercising restraint when photographing or approaching birds.
- What's the Best Focal Length for Bird Photography? — Nature TTL — Supports the 400mm practical-floor guidance and the note that 600mm can be more than small passerines require.
- A Beginner's Guide to Bird Photography: Essential Gear and Basic Settings — PetaPixel — Supports capped Auto ISO, continuous AF with subject detection, minimum shutter speeds to freeze motion, and the point that entry-level telephoto gear is viable for learning.
Prices and BirdingScores reflect our most recent research and refresh on a cycle; confirm the live price before buying. We may earn a commission from affiliate retailers — it never changes our recommendations. See how we review.